Payments that are created through a Payment Portal, an Invoice Portal, or directly in the Online Terminal can be imported into QuickBooks and applied to customer accounts.
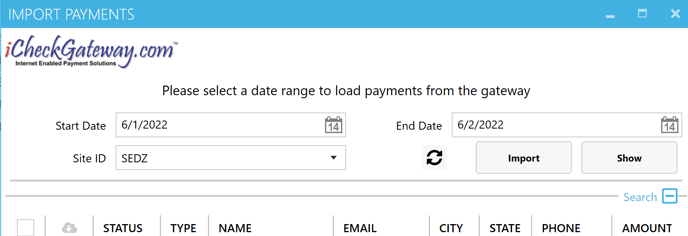
In the Company menu, select iCheckGateway.com > Import Payments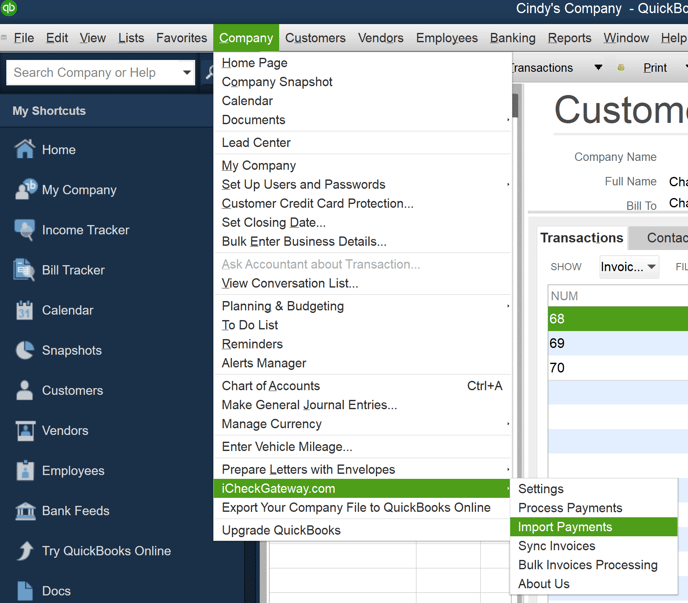
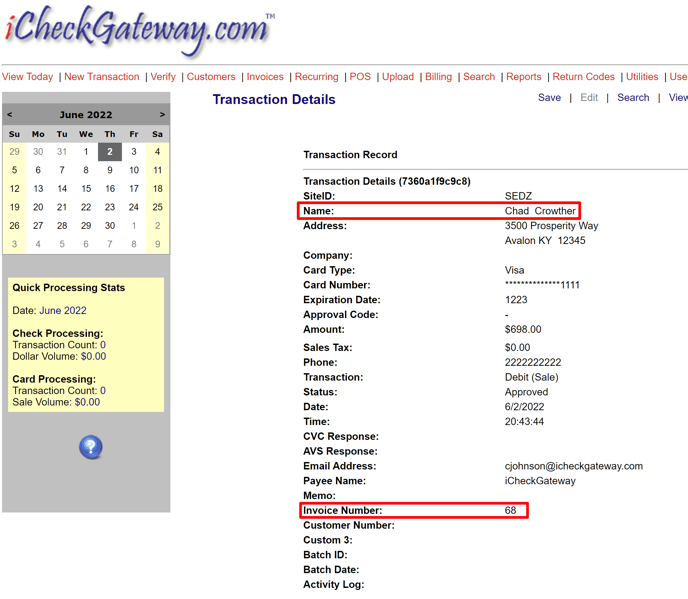
- Payments that are processed in the iCheckGateway Online Terminal can be easily imported into QuickBooks. This includes both one-time and recurring transactions. It is recommended that the Invoice Number is stored in the Custom 1 field of the transaction details and that the customer name matches the customer information in QuickBooks.
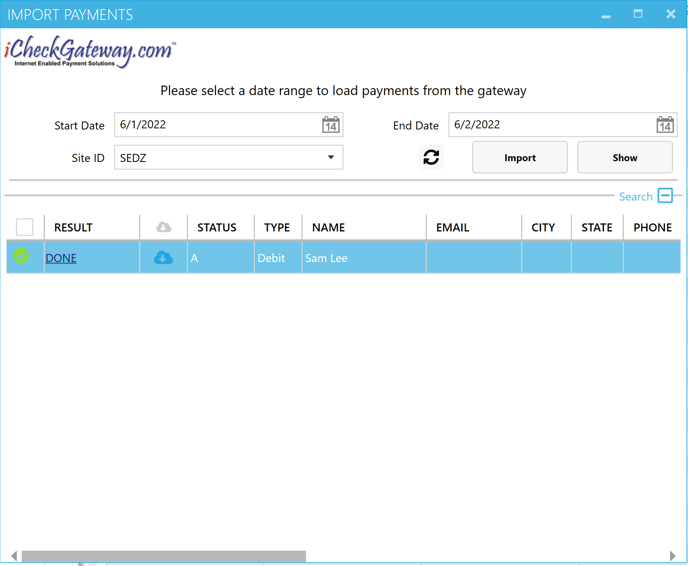
- Select the Start Date and the End Date and click Show to load the payments from the gateway. Any payments that have already been imported will not be listed.
- Select the payments you would like to import. To select All, check the box at the top of the column. Then click Import.
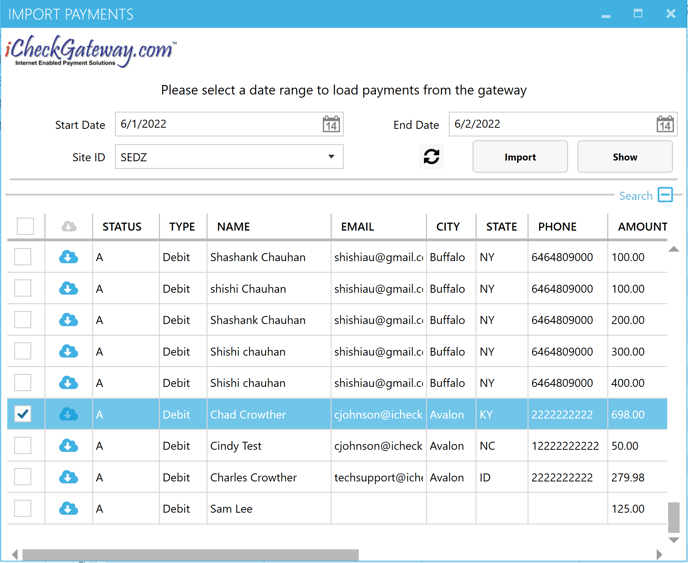
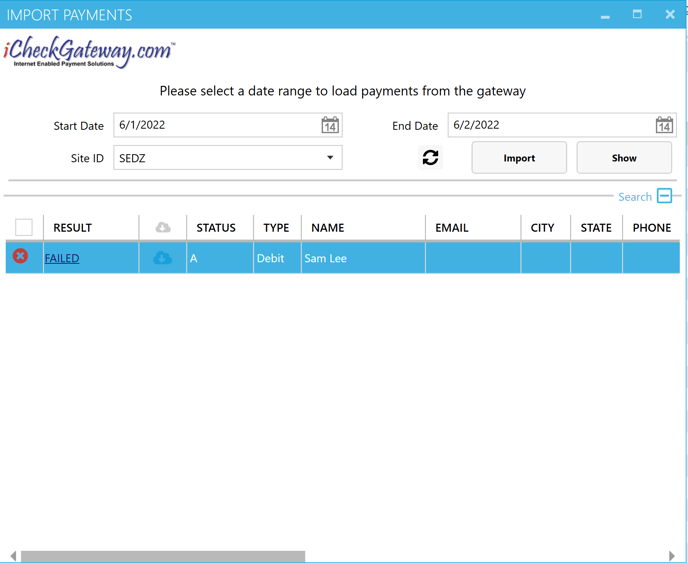
- There is a Search feature which will expand your search parameters to include: Name, Email, Phone, City, State, Amount, Type, and Status. You can scroll to the right if you need to see more information.

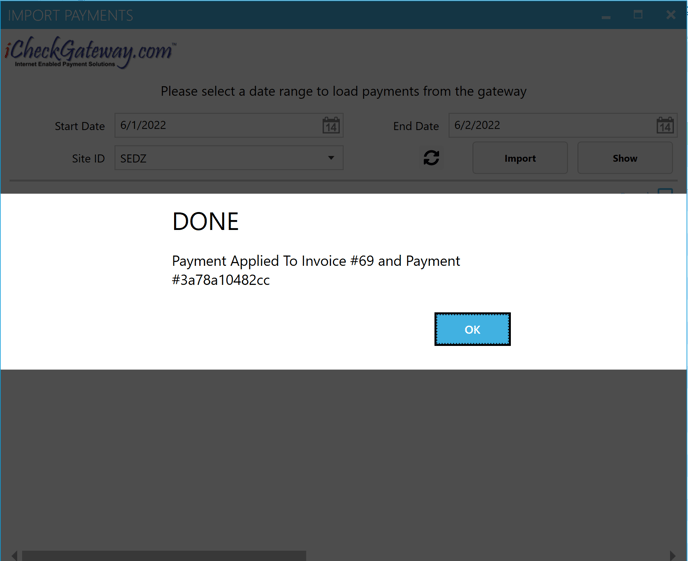
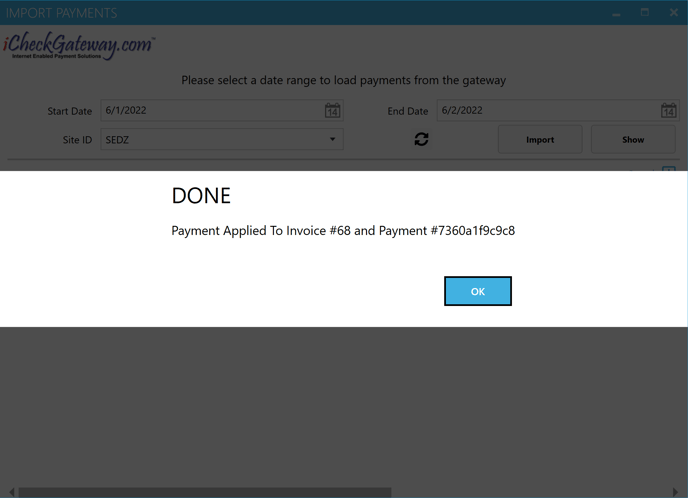
- When the payment is successfully imported into QuickBooks, you will see DONE with a green checkmark. You can click the DONE status to see more details.

If a Payment Fails to Import
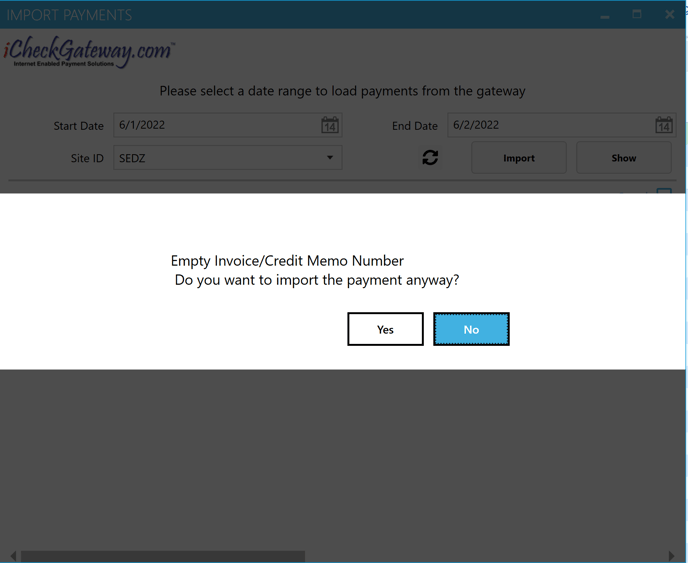
- The iCheckGateway QuickBooks Plugin will attempt to match payments by name and/or by invoice number. If one or more of those fields do not match, a message similar to the following will be displayed:
Example where the name on the transaction does not match the name on the invoice. The plugin will post the payment using the invoice number only. 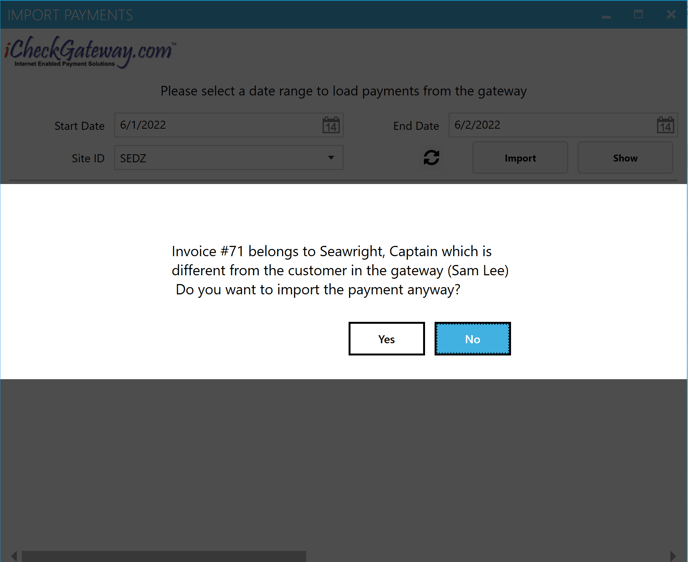
Example where the Invoice Number in the Custom 1 field on the transaction is empty. The plugin will attempt to match the payment using the customer name.
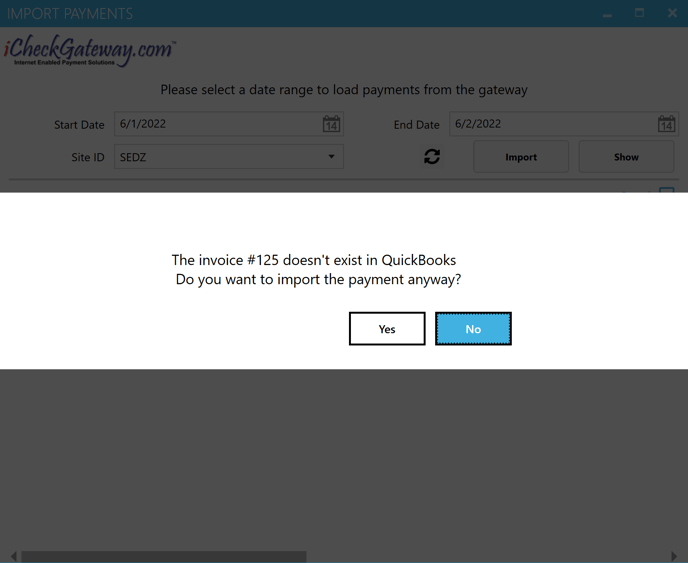
Example where the Invoice Number in the Custom 1 field does not match an invoice number in QuickBooks. The plugin will attempt to match the payment using the customer name.
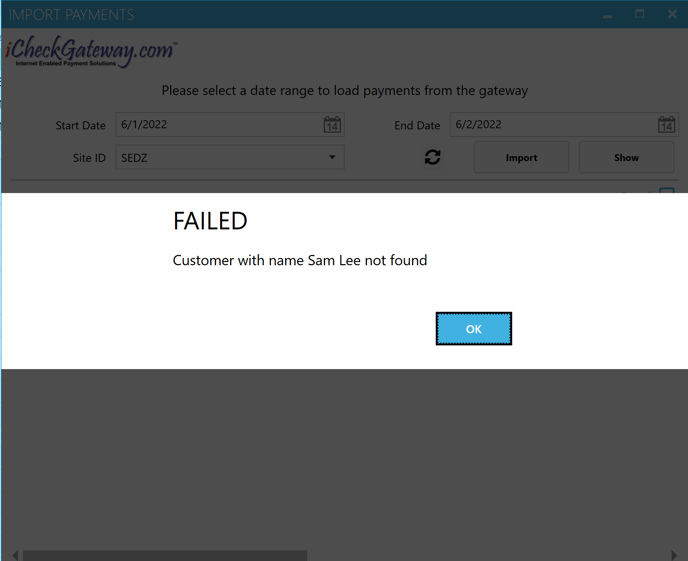
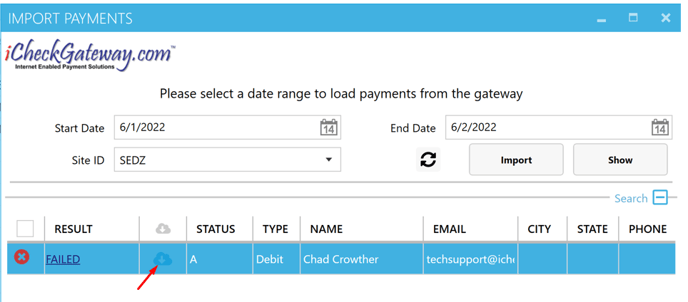
- If the payment fails to be imported into QuickBooks, you will see FAILED with a red "x" next to the payment. Click on FAILED to see more details.
- To manually upload a payment that FAILED to be imported into QuickBooks, click the cloud icon.
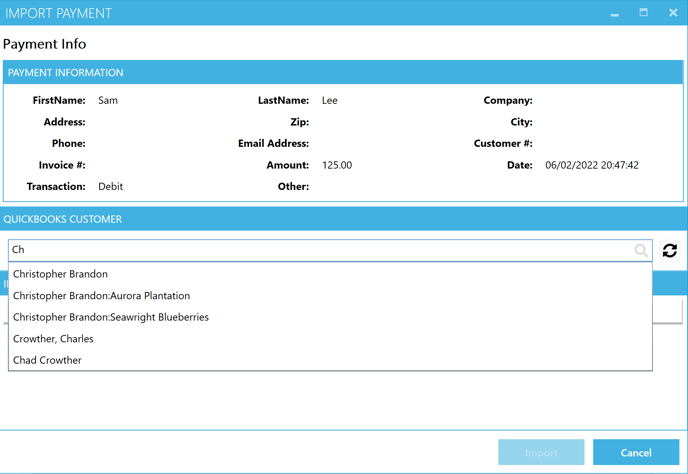
- Enter the customer name as listed in QuickBooks
- Select the open invoice where you would like to apply the payment. Click Import.
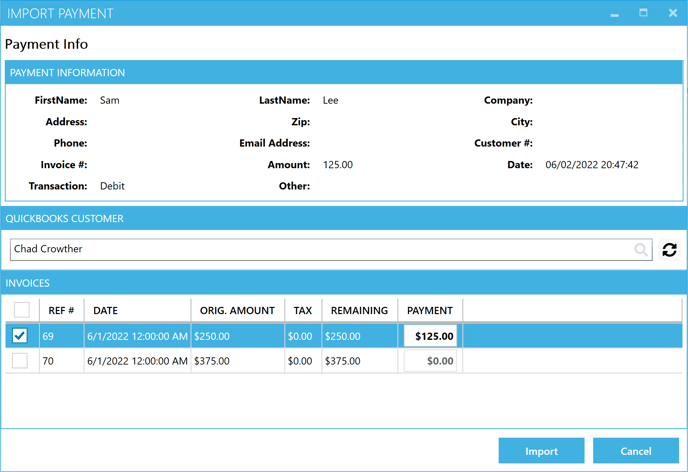
- The payment will be manually applied to the selected invoice and you will see DONE.